Creating and managing organizations, locations, and devices
NAVIGATION Organizations
PERMISSIONS Datto EDR subscription with administrator-level platform access or Datto AV subscription with administrator-level platform access
BEFORE YOU BEGIN The type of subscription you have may define the features available to you on this page. For a comprehensive overview of features available to Datto EDR and Datto AV customers, refer to Datto EDR and Datto AV access control.
Datto EDR and Datto AV group your endpoints into organizations and locations so that you can easily differentiate between your clients and quickly identify the location of a threat. Additionally, they allow for more efficient device and security policy management.
Organizations represent each of your clients at the corporate level and house their unique locations.
Locations, as their name suggests, represent each physical location or logical grouping to which devices are assigned within an organization. Examples of locations can include a storefront, an office, a data center, or even a virtual workgroup of distributed employees.
Devices represent any type of endpoint at a location to which you have deployed the Datto Endpoint Security agent.
You must create at least one organization and location before you can add devices to it. An endpoint must have the agent software installed and be associated with a location before our analysis engine can scan it.
Organizations, locations, and devices with an ![]() icon preceding their name are synced from Datto RMM. Entities with an
icon preceding their name are synced from Datto RMM. Entities with an ![]() icon preceding their name are synced from VSA 10. Special conditions apply to these entries. Learn more in our Understanding the Datto EDR + Datto RMM integration and Configuring the VSA 10 integration articles.
icon preceding their name are synced from VSA 10. Special conditions apply to these entries. Learn more in our Understanding the Datto EDR + Datto RMM integration and Configuring the VSA 10 integration articles.
Creating and managing organizations
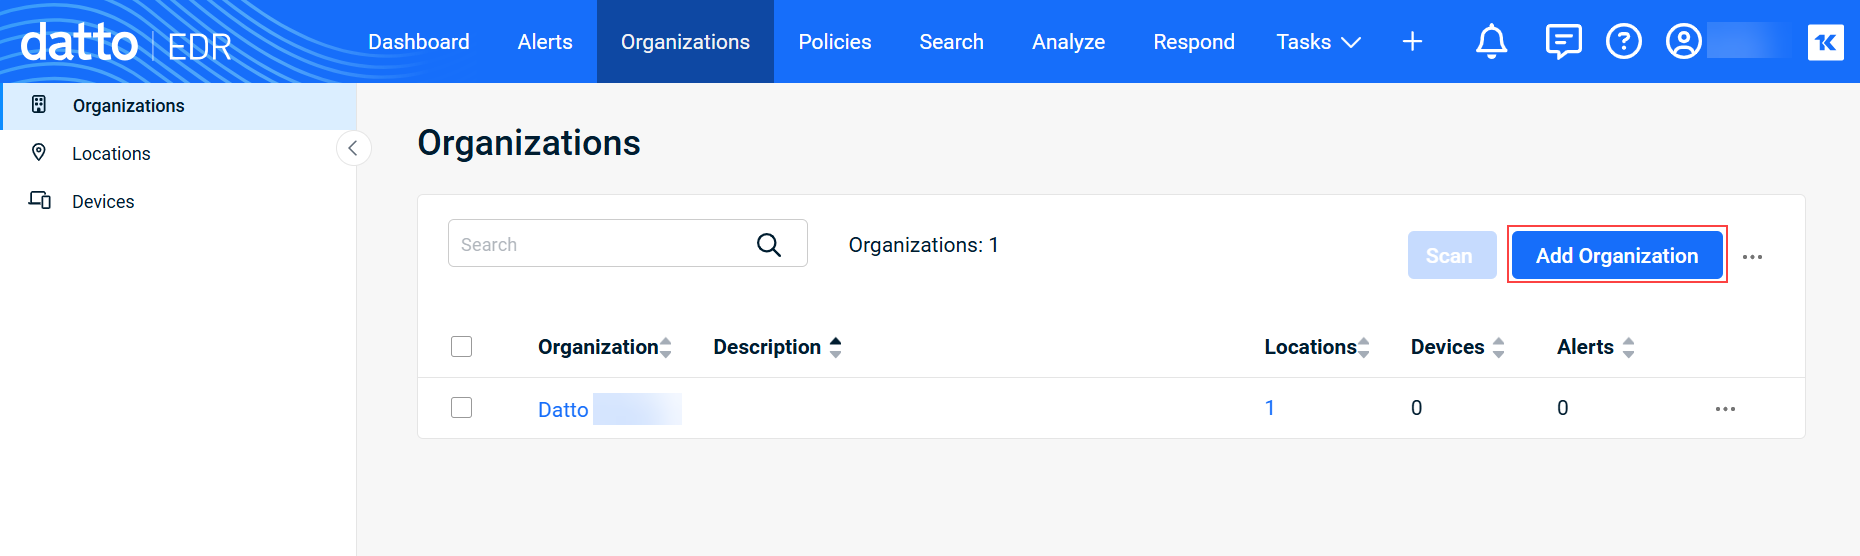
- In the top navigation menu of your instance, click Organizations.
- Click Add Organization.
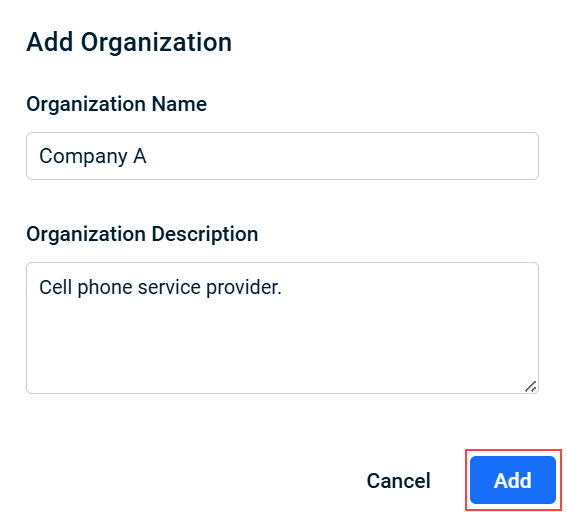
- In the Add Organization modal, complete the following required fields:
- Organization Name: Enter the name of the organization.
- Organization Description: Enter a description of the organization.
- Click Add.
- An acknowledgment message will confirm the organization's creation. The new organization appears in the Organizations table.
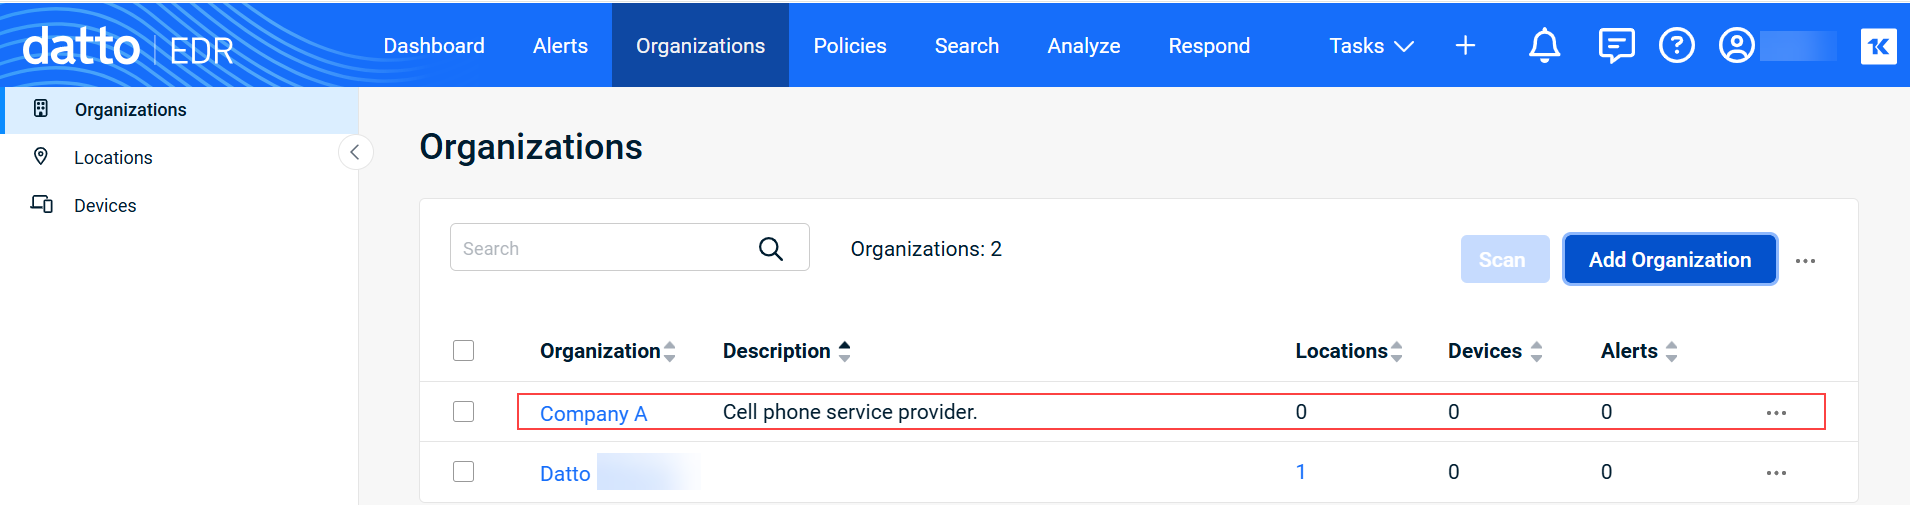
For more information about this page, refer to Using the Organizations page. To learn how to create a location, proceed to the next section of this article.
Creating and managing locations
- In the top navigation menu of your instance, click Organizations.
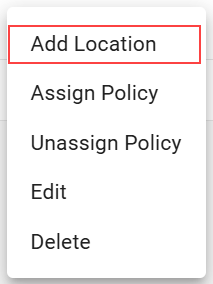
- At the end of the row for the desired organization, click the ellipses menu.
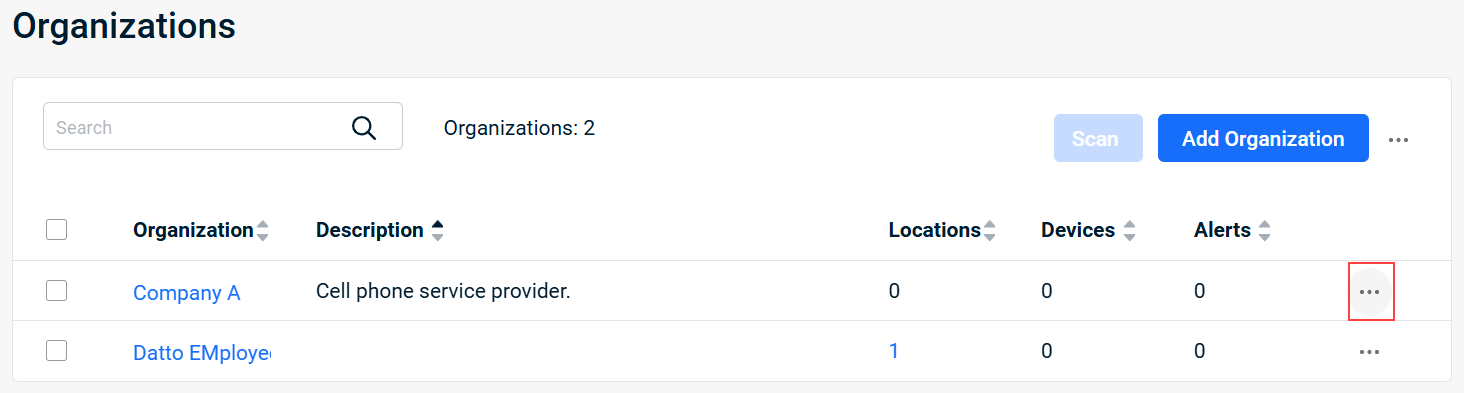
- Select Add Location.
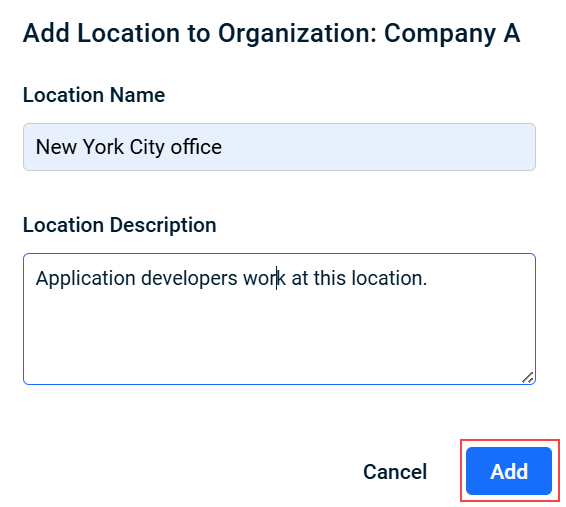
- In the Add Location to Organization modal, complete the following required fields:
- Location Name: New York City office.
- Location Description: Application developers work at this location.
- Click Add.
- An acknowledgment message will confirm the location's creation. To view the location's details:
- In the Organization's table, click the organization's name.
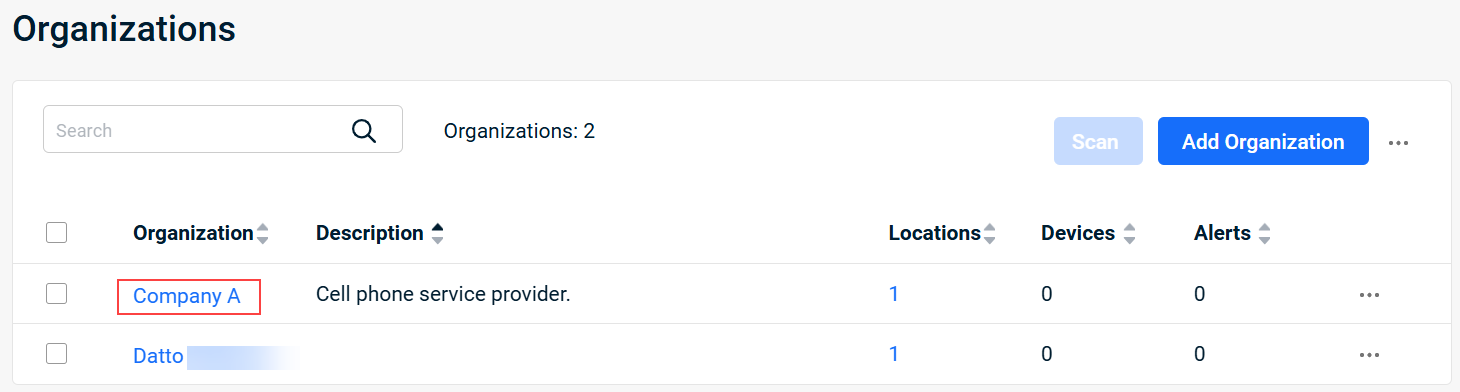
- In the Locations table, click the location's name.

The location's details page is displayed.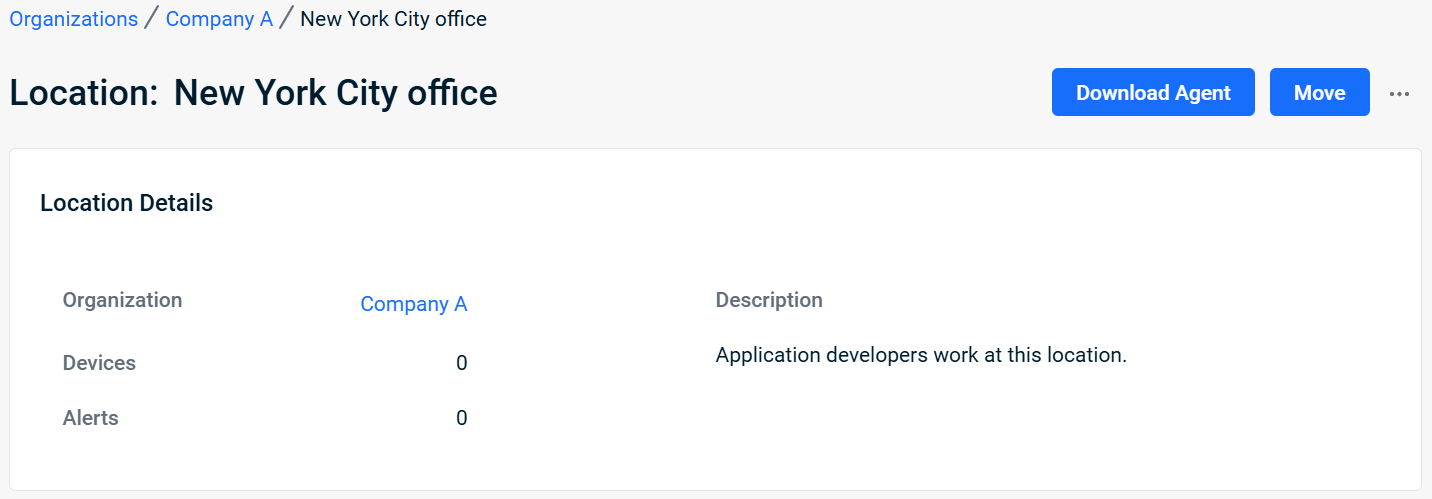
- In the Organization's table, click the organization's name.
-
If you'd like to add devices to the location, continue to the next section of this article.
Assigning devices to a location
You have two options for adding devices to a location: automatically via the agent installation workflow, or by manual assignment on the Organization page.
If you have an existing device that you'd like to move from one location or organization to another, perform the following steps:
-
In the top navigation menu of your instance, click Organizations.
-
Click the Devices count for the organization with which the device is currently associated.
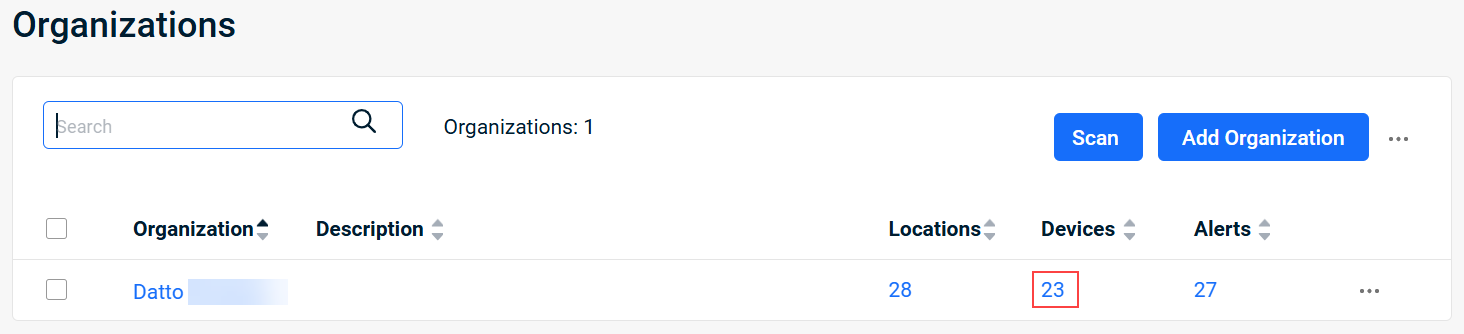
-
The Devices table lists all of the organization's devices across all locations.
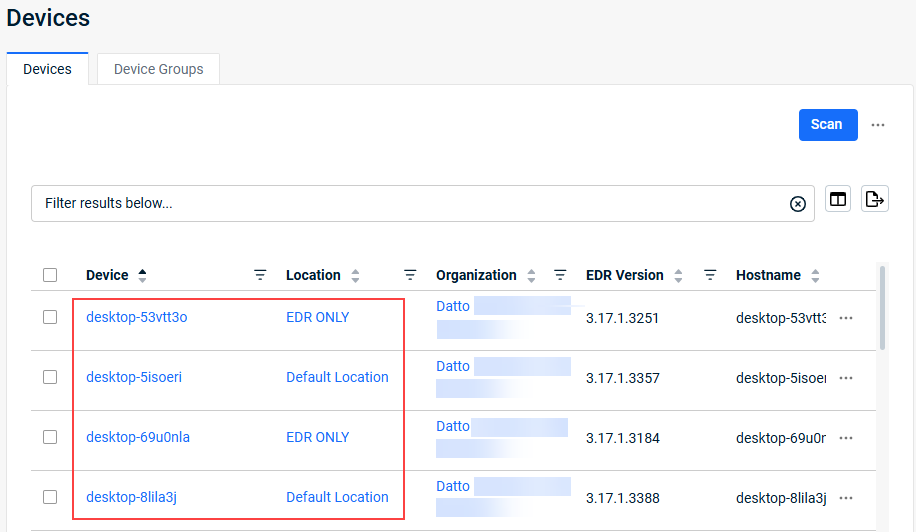
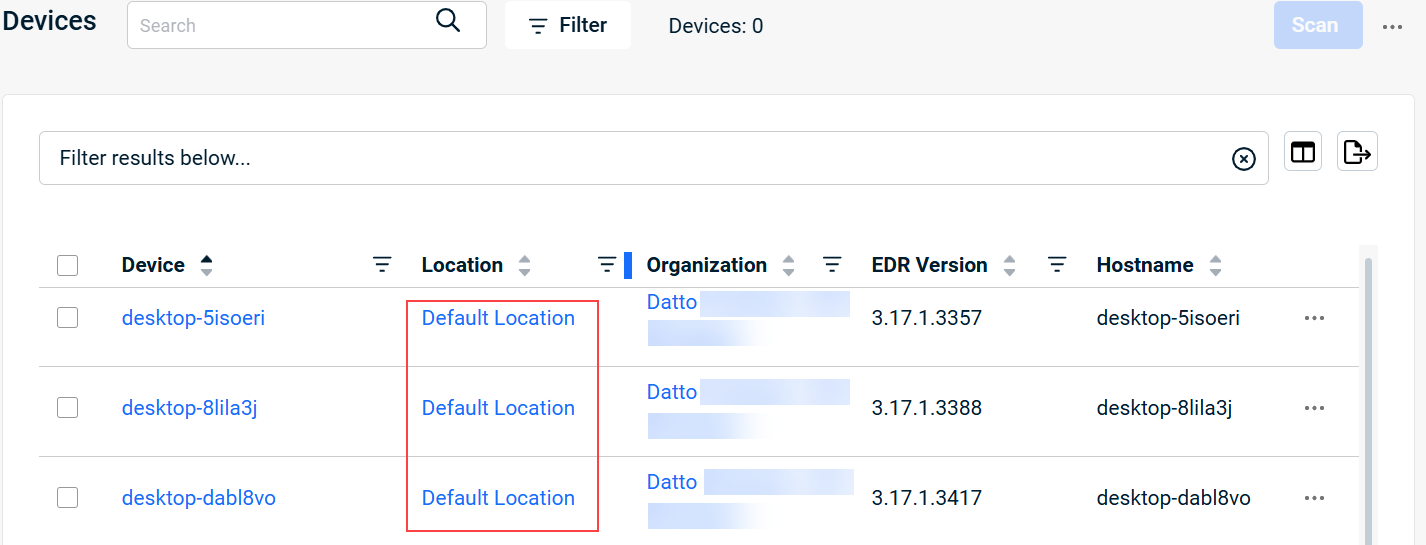
NOTE Alternatively, you can list only the devices at a specific location by first clicking the name of the organization, then clicking the name of the location.
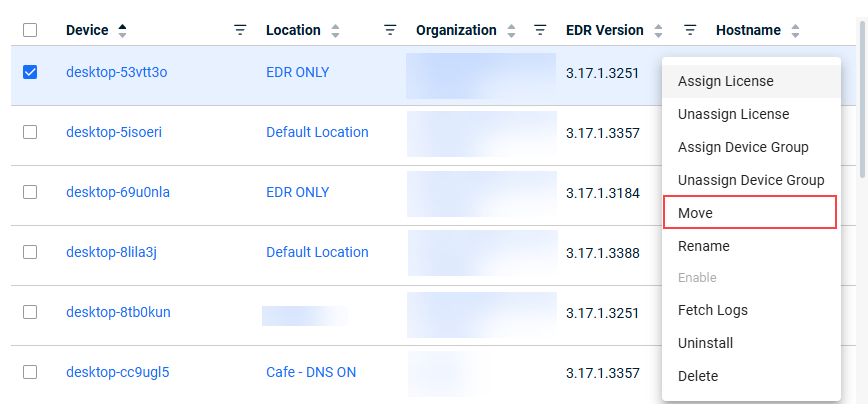
Select the check box for the applicable device.
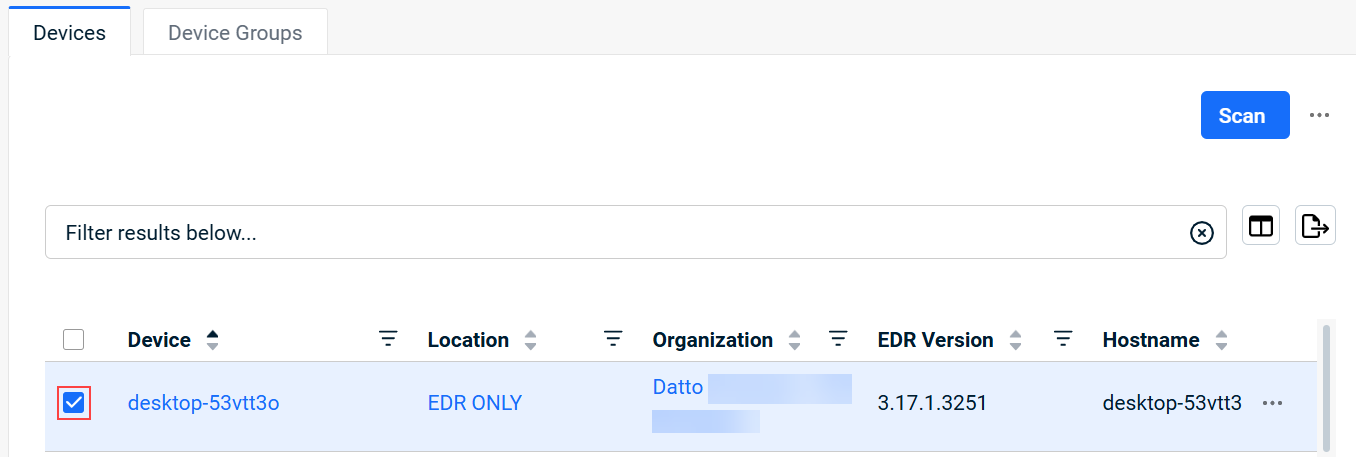
- At the end of the row, click the ellipses menu and select Move.
-
In the Move Device modal select a different destination organization (if desired) and a location, then click Move.
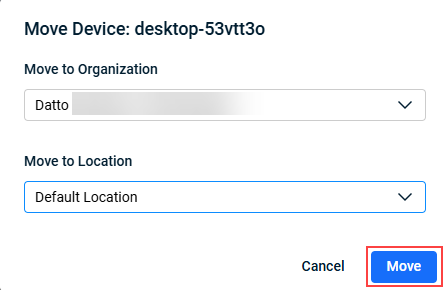
A confirmation message indicates that the move completed successfully.
FAQs
Below, you'll find answers to common questions related to organizations and locations.
The agent download option has moved from the Adminpage to the Location pages. To learn how to download the agent installer, refer to Installing the Endpoint Security agent.
No. With the removal of controllers, temporary agent installation is no longer available.
Yes. You can move one, many, or all locations to different organizations.
If you install the Endpoint Security agent on an endpoint before installing the RMM agent, the endpoint will not be automatically assigned to its corresponding Datto RMM location in Datto EDR until the host is rebooted.
| Revision | Date |
|---|---|
| All procedures updated. Deleted FAQs that are no longer valid. | 7/21/25 |


