Deploying the delete_file extension
NAVIGATION Alerts
PERMISSIONS To upload and enable extensions: Datto EDR subscription with administrator-level platform access
PERMISSIONS To deploy response extensions: Datto EDR subscription with analyst-level platform access
This article describes the purpose and function of the delete_file response extension and how to use it.
For more information about collection and response extensions, refer to Leveraging collection and response extensions.
Overview
| Extension details | |
|---|---|
|
Name |
Delete File |
| File type | Datto EDR extension |
| Extension type |
Response |
| Global variables |
Yes |
| Description |
Deletes a file by path |
| Author |
Datto EDR |
| Notes |
This is an official Datto EDR extension. Editing it is not permitted. However, you may create a copy of this extension if you wish to edit it. |
Usage
Before you can use extensions, you must enable them. To do so, perform the following steps:
-
In your EDR platform, navigate to
 > Admin > Extensions.
 -
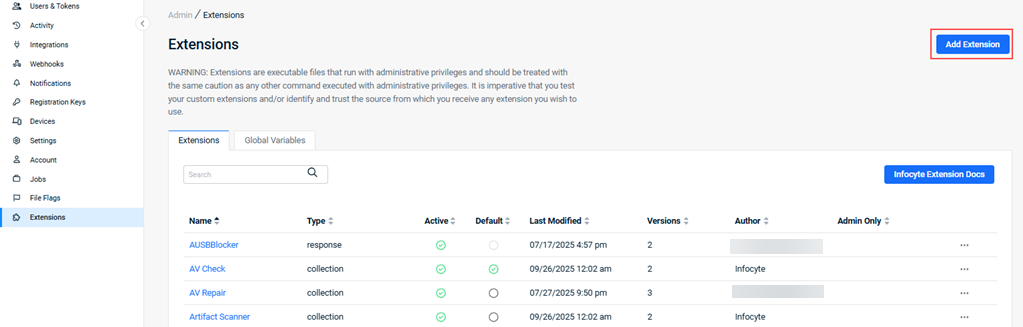
The Extensions page will load.
-
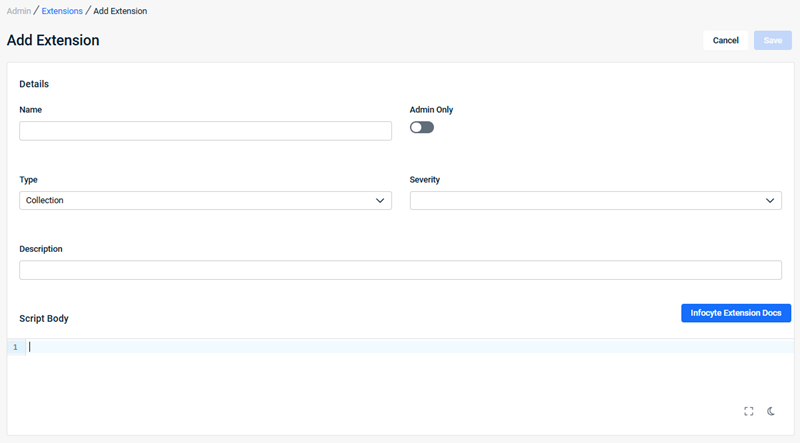
To create a new deployable solution, click Add Extension.
-
Complete all applicable fields and then click Save.
-
The new extension is listed in the Extensions table and is enabled by default. To disable an extension, clear the option in the Active field.

-
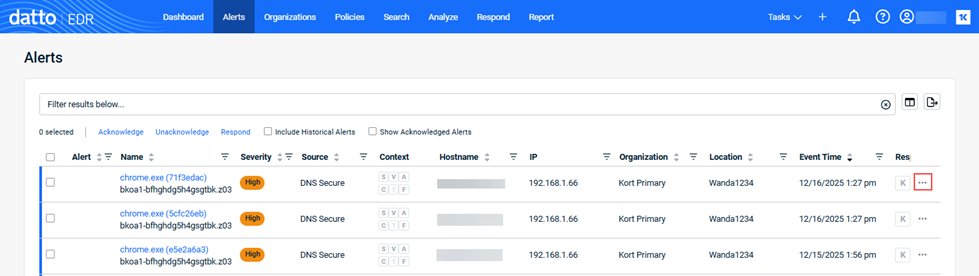
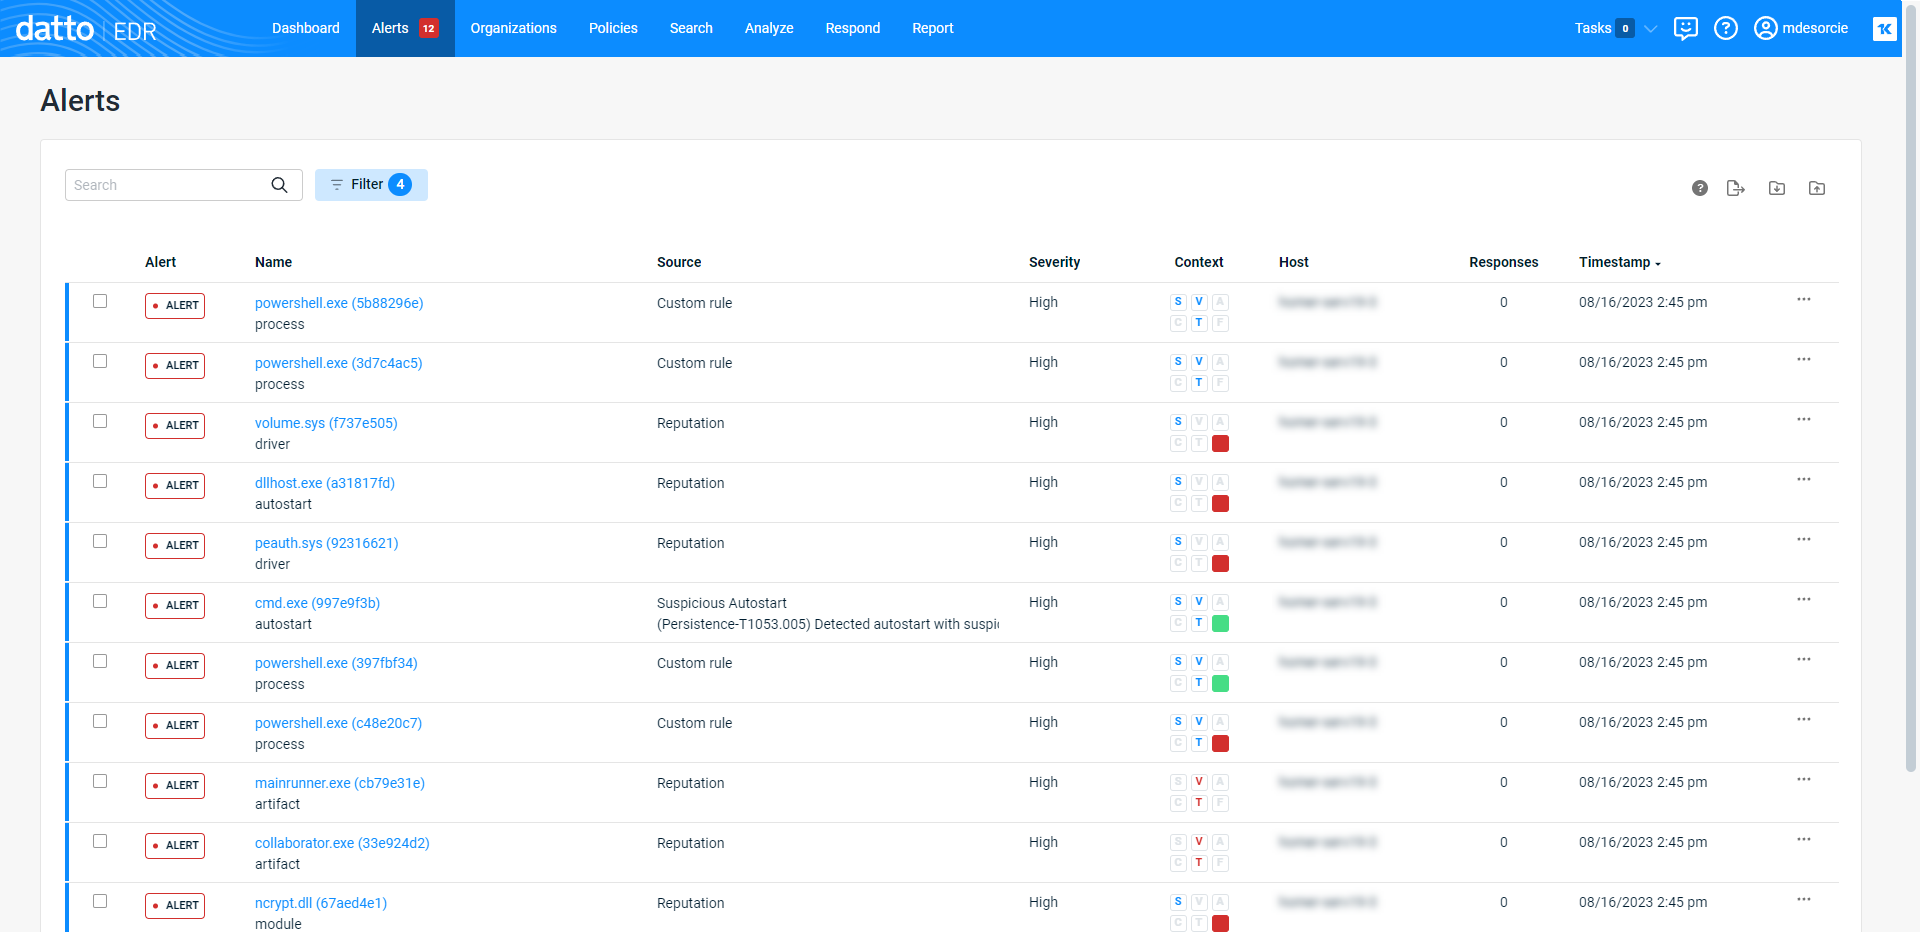
In the top navigation menu, click Alerts.
-
The Alerts page will load. Locate the alert to which you'd like to respond. At the end of the alert's row, click the ellipsis menu and select Respond in the pop-up menu.
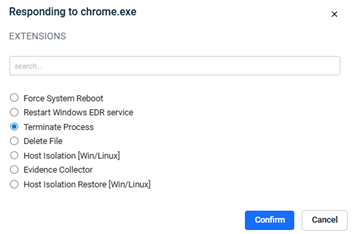
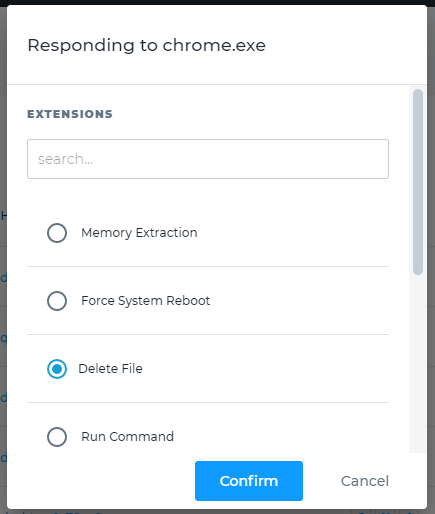
- In the Responding dialog box, select the desired response. To filter the content list, enter a string in the search box.
- Click Confirm.
-
Select the Delete File action. Then, click Confirm.
-
If the malicious file is present on the endpoint during the next agent and instance communication, the delete file action will remove it.
From the Tasks menu
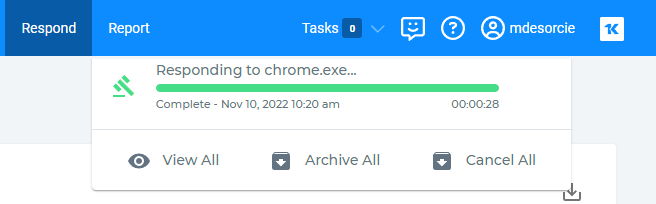
-
In the top navigation menu, click Tasks. You'll see a list of the most recently-queued tasks and their current status. If the action's execution finished, you'll see a Complete status indicated beneath its progress bar.
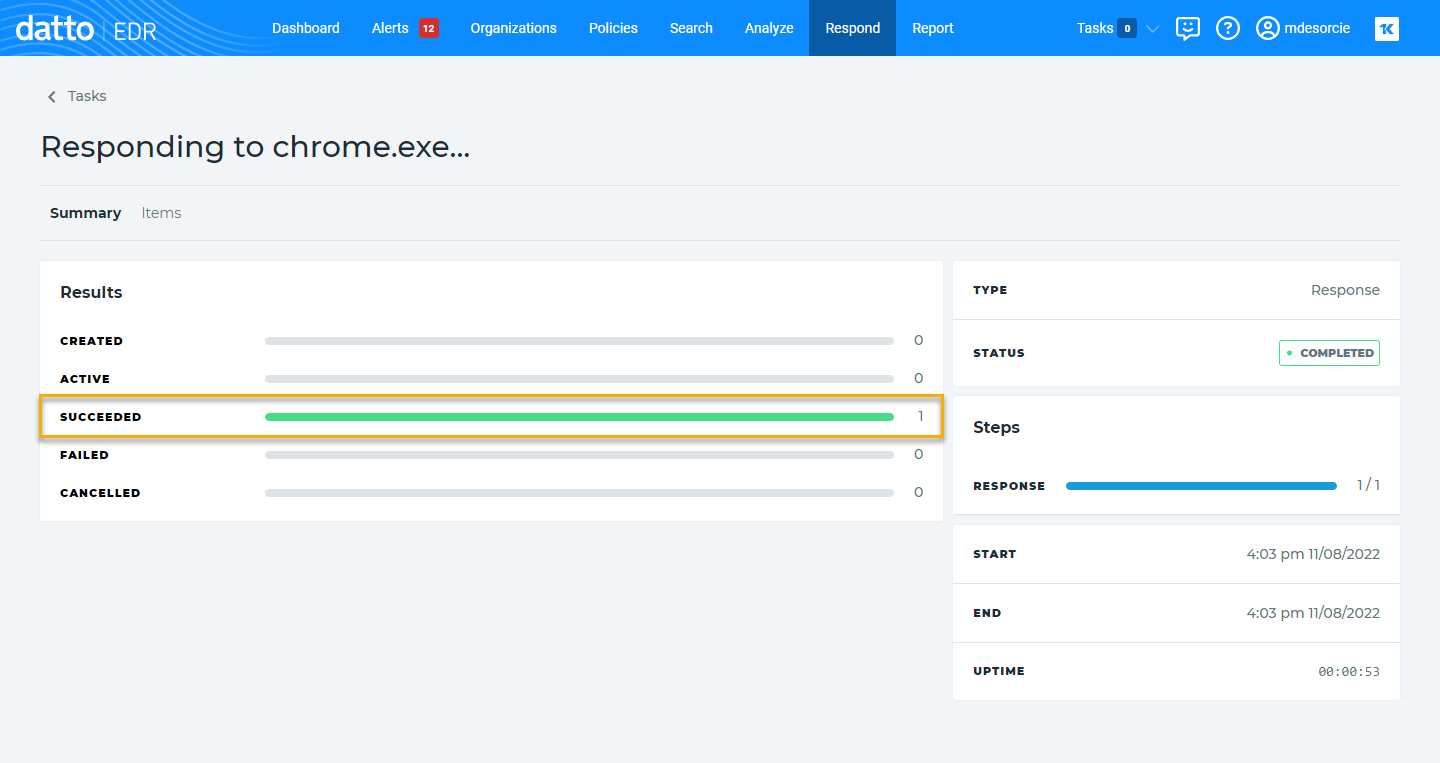
-
Clicking the task will open its detail page. Verify that a Success status is indicated in the Results field.
From the Respond page
-
In the top navigation menu, click Respond. The Responses page will open.
-
Locate the task you deployed.
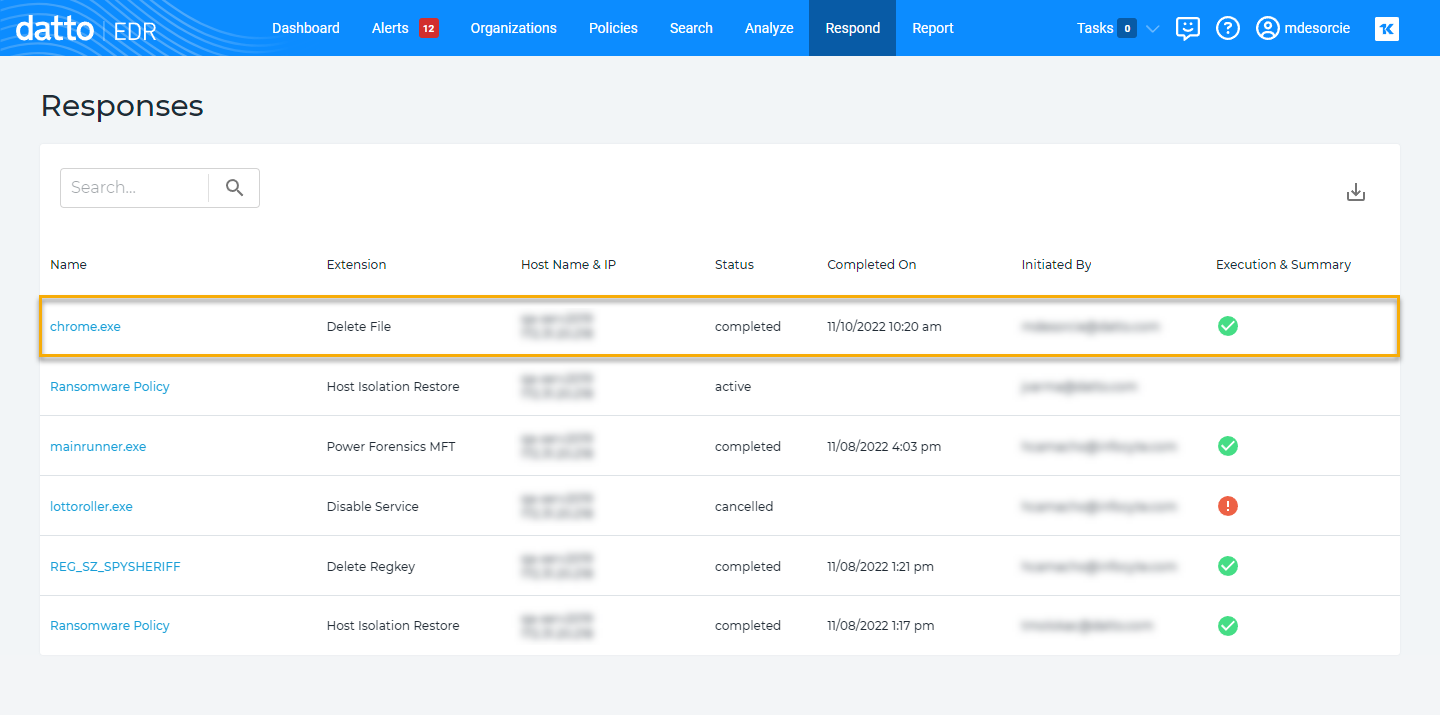
-
Verify that Completed is shown in the Status column and that a
 icon appears in the Execution & Summary column.


