Kaseya 365 Endpoint: Getting started with Datto EDR and Datto AV
This article is intended for customers who have purchased Datto EDR or Datto AV as part of their Kaseya 365 subscription. It outlines the recommended steps to begin the onboarding process, which should be followed in the order presented.
Logging into Datto EDR for the first time
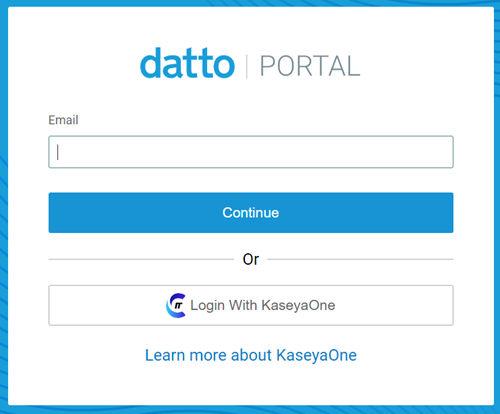
Your experience starts in KaseyaOne. Follow the instructions in the Kaseya Welcome email you received. In KaseyaOne, click the Activate link for your new Datto EDR module. One of the following will occur:
- If you have a subscription to another Datto Partner Portal module (such as Datto Backup, Datto EDR/AV, SaaS Protection, or Datto RMM), you will be redirected to the Partner Portal login page. After logging in, you will be taken to the account selection page.
Click the Continue button for the Datto EDR module.
- If you do not have an existing subscription, follow the steps below to set your password and enable two-factor authentication.
Perform the following steps to set your password and enable two-factor authentication:
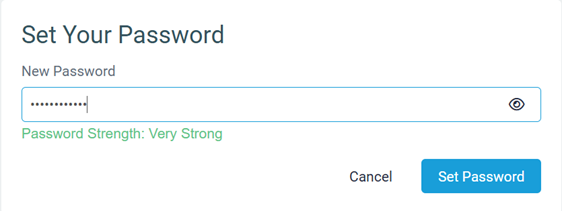
- In the Set Your Password pop-up window, type a new password and click Set Password.
- On the next page, click Log In.
- Log in with your credentials, using your new password.
- In the Select Authentication Method modal, follow the steps to set up two-factor authentication. Then, you will be logged into Datto EDR.
Onboarding
This Onboarding section guides you through the essential planning tasks required to ensure a successful onboarding experience.
IMPORTANT Go through each Onboarding section before implementing EDR. This will help ensure that when you do implement EDR, you successfully protect your organization's endpoints from malicious activity without causing network issues.
Setting up accounts
We recommend adding one or two admin user accounts as backup accounts. These accounts are created within auth.datto.com that the user can use along with their Kaseya 365 login.
You can add new accounts by hovering over your username in the top-right corner and selecting Admin.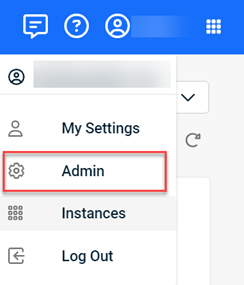
Then on the Users & Tokens page, you would click the Add User button.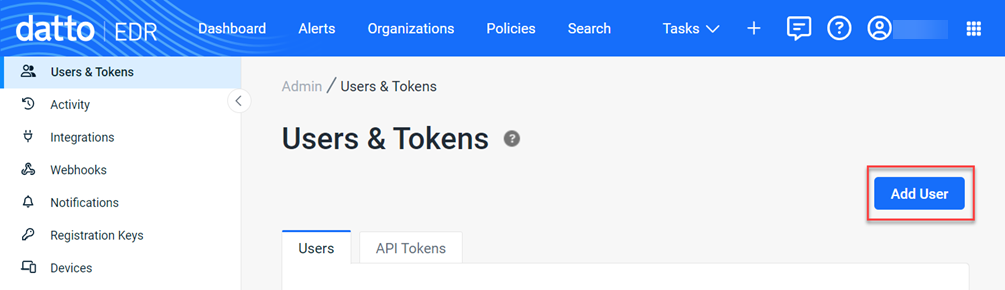
Configure KaseyaOne Unified Login
Return to your Kaseya 365 Setup Guide to configure KaseyaOne Unified Login. After you complete this step, you will return to Datto EDR to complete the self-guided onboarding that launches automatically the first time you log in and will continue to prompt you to complete until you finish all your onboarding tasks.
Reviewing default policies
EDR activates a few essential policies by default. These default policies will help you learn about your network security behaviors without disrupting network operation. The active default policies are accessible on the Policies page and are described below:
- EDR real time monitor: EDR real time monitor is an active default Datto EDR policy that performs real-time analysis and performs behavior detections.
The preferred EDR deployment mode is to enable real-time monitoring, not enable scheduled scans. - Datto AV Alert only: Datto AV Alert only is intended to scan files only. It does not quarantine files. It is a recommended policy for deploying new agents so you can learn what needs to be allowlisted.
Real-time protection scans should be run on a scheduled basis during low usage times and set to perform full scans, not for selected files. -
Ransomware Protection: Ransomware Protection will monitor for any ransomware behavior and in the event of detection, it will attempt to isolate the host and kill the suspected process.
The Rollback and File Recovery feature is only available when the Ransomware Detection policy enabled in EDR. It is not available when ransomware detection is enabled in Rocketcyber or RMM.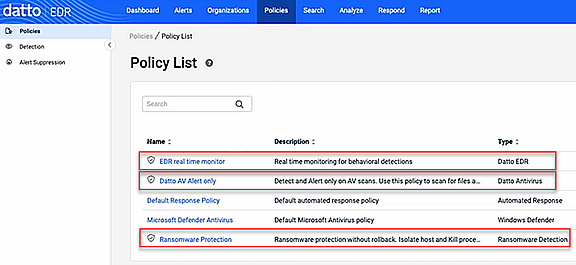
Planning your organization structure
EDR provides various options for adding organizations. On the Organizations page, you can click the Add Organization button to add an organization and then add locations.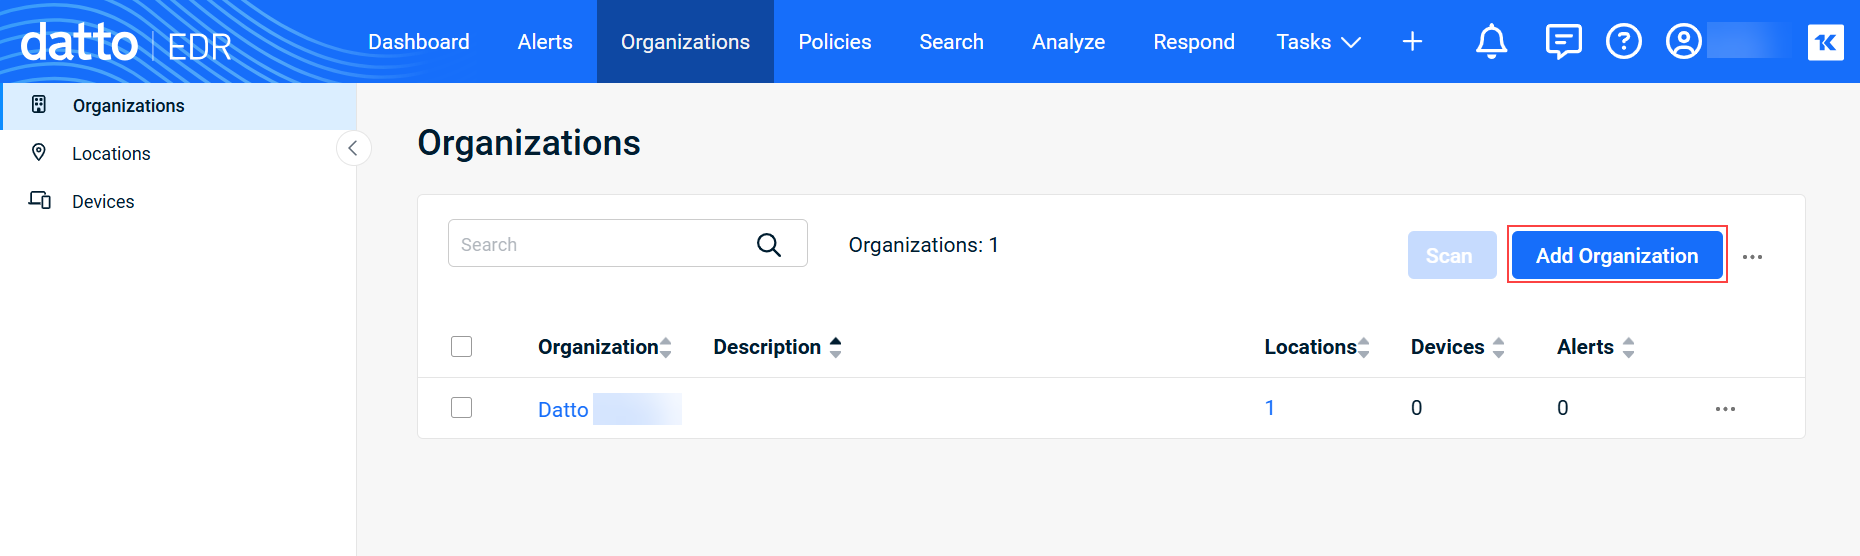
If you integrate EDR with RMM or VSA, the organizations and locations in these platforms automatically synchronize to EDR.
To integrate with RMM, you will need to create an API token on the Admin > Users & Tokens page.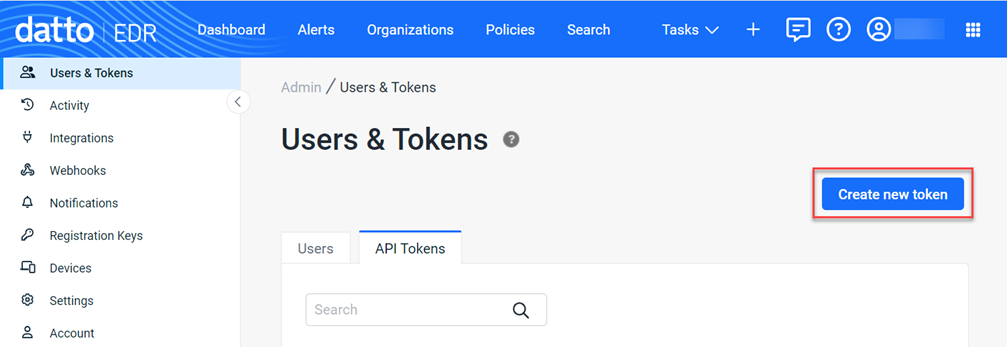
You will need to enter the API token in the RMM platform to complete the integration.
You can integrate with VSA simply by clicking Integrations in the navigation menu and clicking the VSA tile.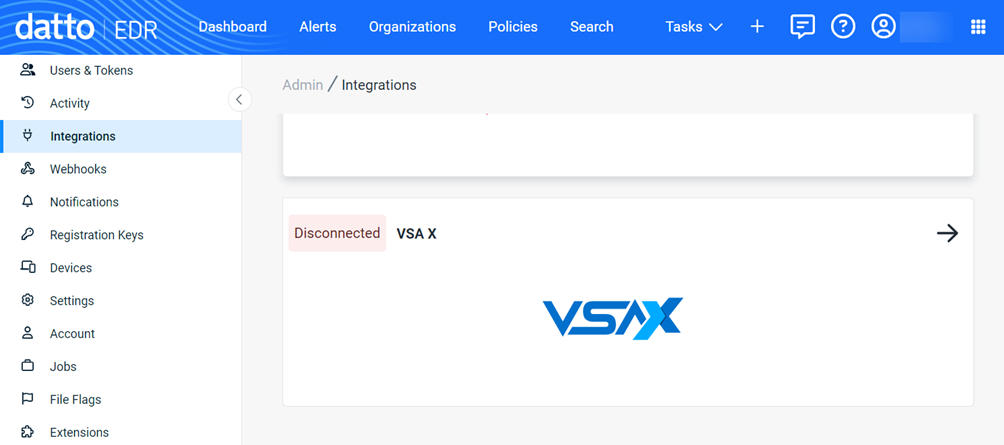
Deploying the EDR agent
An EDR agent must be deployed to each endpoint you want monitored and protected.
You can deploy EDR automatically through your integrations with RMM or VSA , or you can manually install the agent.
After selecting the organization, you’ll navigate to the Locations page and click the desired location.
The Download Agent button will display the modal where you select the applicable operating system.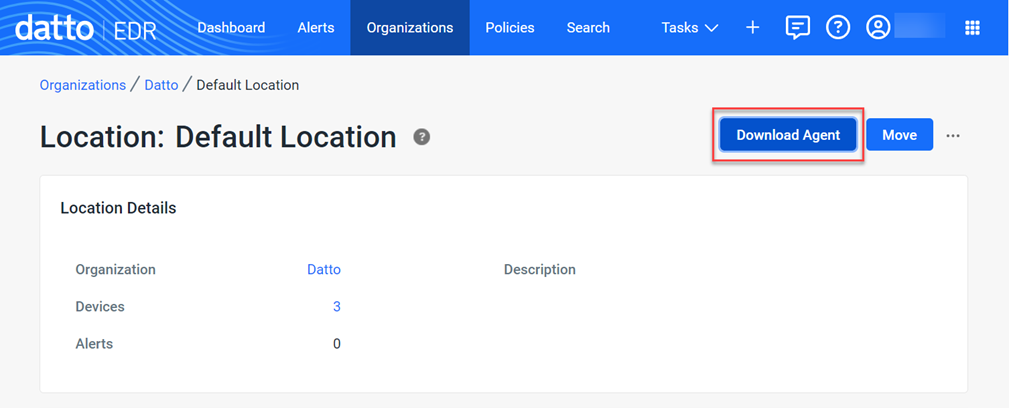
Monitoring alerts and quarantined files
After deploying the EDR agents, you will be able to monitor alerts and quarantined files.
The Alerts page contains a list of suspected threats detected by Datto EDR or Datto AV.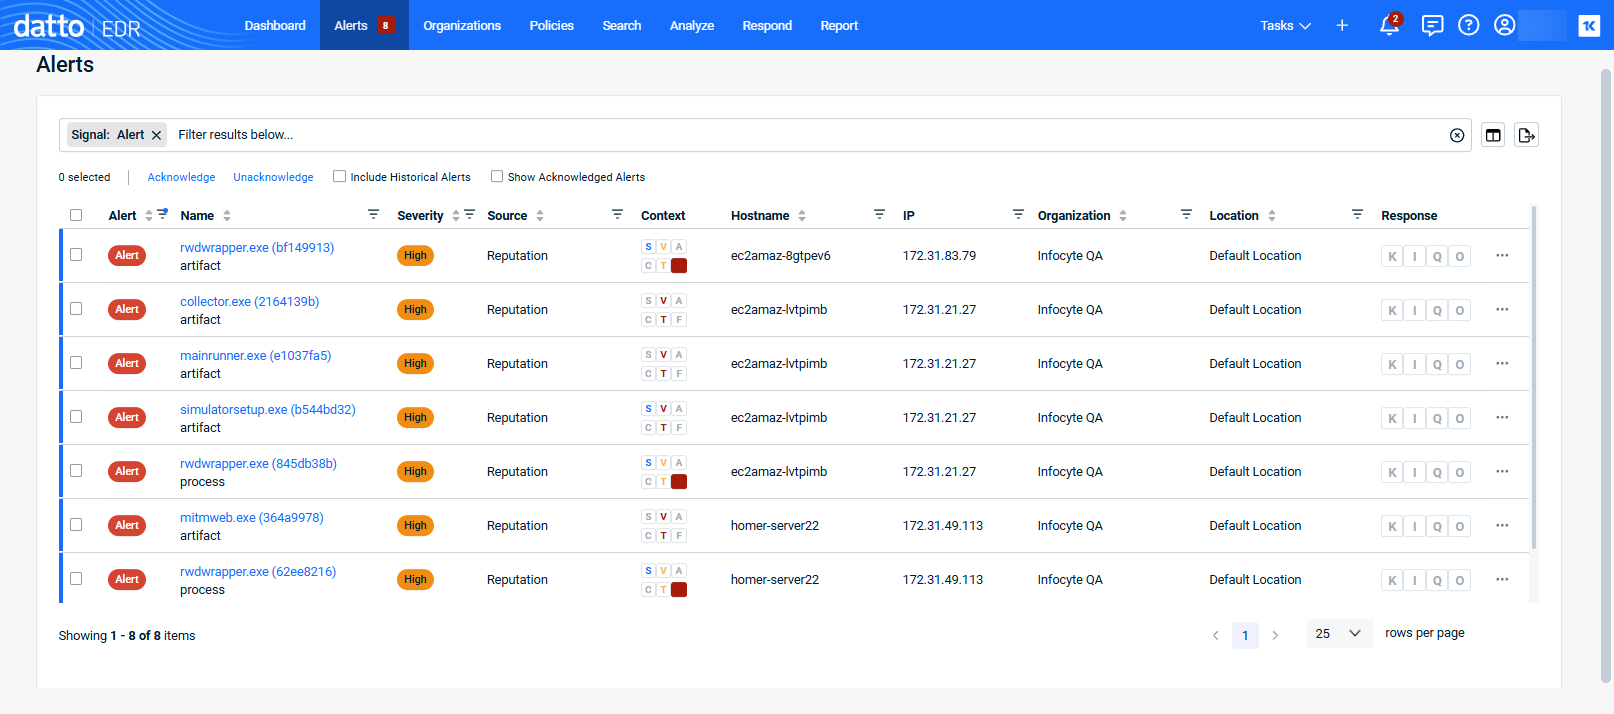
Any files that are automatically quarantined by Datto AV can be reviewed and managed by selecting Respond > Quarantined files.
NOTE When you are ready to implement EDR, refer to the article Recommended steps for implementing Datto EDR and Datto AV
Kaseya Platform integrations
Depending on the other Kaseya Platform modules active in your stack, you can take advantage of the following integrations to improve security and overall operations:


