Navigating the Reports page
NAVIGATION Report
PERMISSIONS Datto EDR subscription with administrator, analyst, or external analyst-level platform access
IMPORTANT Specific retention periods apply to all record types in Datto EDR and Datto AV. For more information, refer to Datto EDR and Datto AV data retention policies.
The Report page enables you to generate threat and vulnerability reports that summarize key data points related to analyzed activity and the protective actions identified by Datto EDR during the selected reporting period.
There are two types of reports you can create:
-
One-time reports, generated on demand, containing data for a fixed set of dates.
-
Scheduled reports, automatically generated according to a schedule you define, containing data from a rolling time box.
This article describes the Report page layout and functions.
-
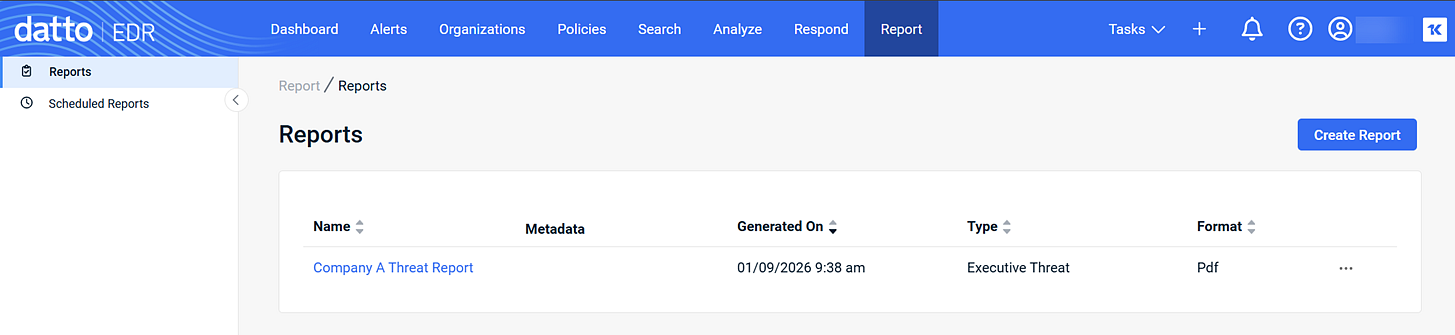
To access the Reports page, in the top navigation menu, click Report.
-
The Reports view is displayed by default and shows all reports generated for your instance so far.
-
As you navigate, you'll see the following features and fields:
Reports view
| Feature | Definition |
|
Create Report |
Click to start creating an individual report; refer to Create a one-time report |
Scheduled Reports view
| Feature | Definition |
|
Create Scheduled Report |
Click to start creating a recurring report; refer to Create a scheduled report |
Reports view
| Column header | Definition |
|
Name |
Name of the report as assigned by the user that generated it. |
|
Generated On |
Date and time the report was generated. |
|
The type of report generated. |
|
|
Format |
The format of the report. |
|
|
Ellipses menu; click to edit or delete the report. |
Scheduled Reports view
| Column header | Definition |
|
Name |
Name of the report as assigned by the user that generated it. |
|
Format |
The format of the report. |
|
The type of report generated. |
|
|
Delivery Date |
Frequency and day of the week on which the report will be generated and delivered. |
|
Created On |
Original date and time this scheduled report was created. |
|
|
Ellipses menu; click to edit or delete the report. |
Executive Threat Report contents
The following describes each section in the Executive Threat Report:
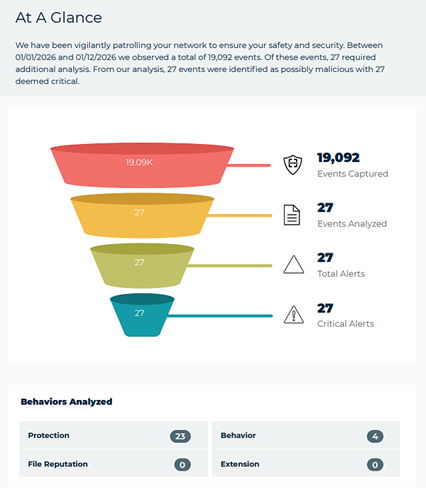
- At a glance: Identifies the number of events observed and the number that required additional analysis as well as the number identified as possibly malicious.
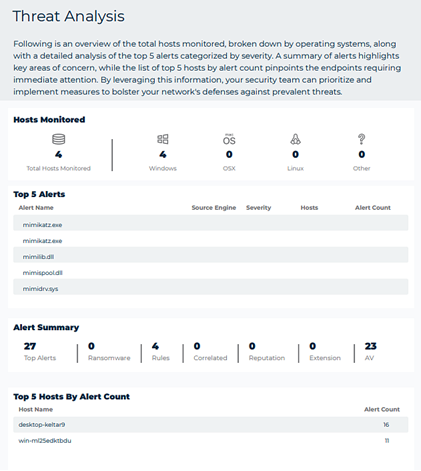
- Threat analysis: Provides an overview of the total hosts monitored, broken down by operating systems, along with a detailed analysis of the top 5 alerts.
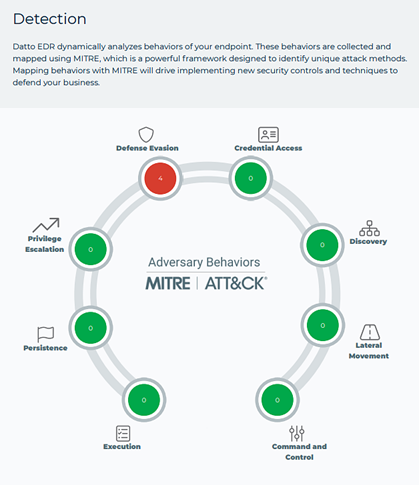
- Detection: Conveys the MITRE attack method used for any malicious attacks identified.
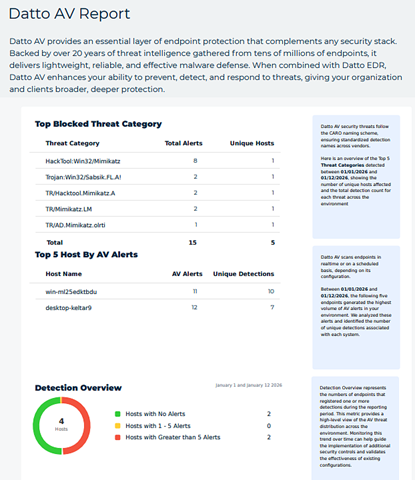
- AV: Provides a clear summary of AV activity including the top endpoints with the most alerts, the top blocked security threats, and an overview of detections across the fleet of devices.
- DNS: Provides insights into your clients’ DNS security posture. The report highlights the top blocked domains, top blocked security and content categories.

How to...
- In the top navigation bar, click Report.
- On the Reports page, click Create Report. The New Report dialog box opens.
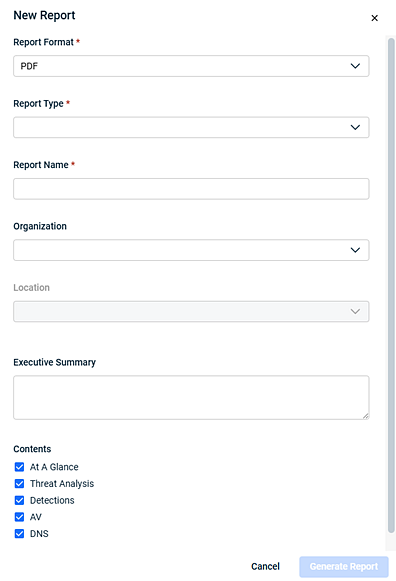
- In the Report Format field, PDF is selected and is currently the only format available.
- In the Report Type drop-down list, select Executive Threat Report, currently the only option.
- Enter a Report Name. This value will appear in the Name column on the Reports page.
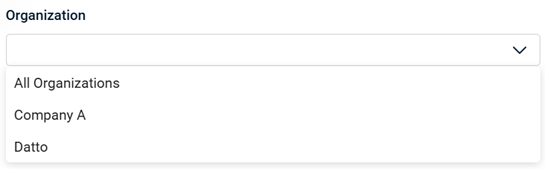
- In the Organization drop-down list, select the organization whose data will be included in the report. Or, you can select All Organizations.
- In the Location drop-down list, select the organization's location whose data will be included in the report. Or, you can select All Data.
Note: If you selected All Organizations in step 6, the Location drop-down list is not available. - Optionally, you can enter an Executive Summary. This text will appear as a caption in supported reports.
- In the Date section, complete the date and time fields in the From and To sections.
Note: The current date and time is autopopulated in both sections.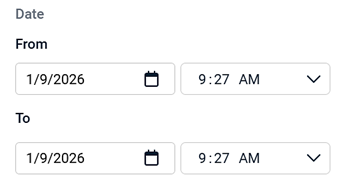
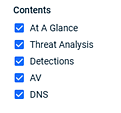
- In the Contents section, all sections are selected by default. If you don't want a section to appear in the report, clear its check box.
NOTE If AV or DNS are not enabled on the agent but are selected in the Contents section, those pages will still appear in the report but not include any data.
- Click Generate Report. The finished output will appear in the Reports table. Click the report name to view its details.
Note: You can click various column headers to sort the table.IMPORTANT Report retention is governed by the Datto EDR and Datto AV data retention policies. Once a report has aged out, it will no longer be available to download or review.
- In the top navigation bar, click Report.
- In the left navigation menu, select Scheduled Reports.
- On the Scheduled Reports page, click Create Scheduled Report. The New Scheduled Report dialog box opens.
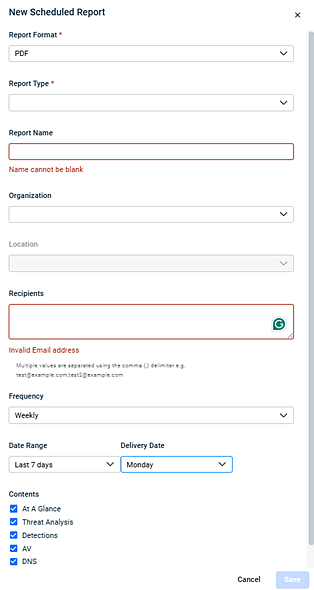
- In the Report Format field, PDF is selected and is currently the only format available.
- In the Report Type drop-down list, select Executive Threat Report, currently the only option.
- Enter a Report Name. This value will appear in the Name column on the Reports page.
- In the Organization drop-down list, select the organization whose data will be included in the report. Or, you can select All Organizations.
- In the Location drop-down list, select the organization's location whose data will be included in the report. Or, you can select All Data.
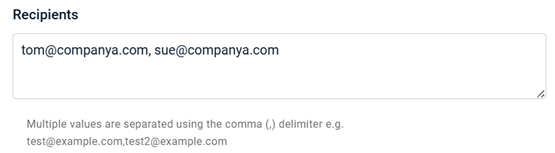
Note: If you selected All Organizations in step 7, the Location drop-down list is not available. - In the Recipients field, enter one or more email addresses where the report will be sent. Separate multiple values with a comma.
-
Select the Frequency , Weekly or Monthly, at which the report will be sent.
-
Select a Date Rangefor the report. This value represents a rolling time frame based on the Frequency selected.
-
Choose the Delivery Date (the recurring day of the week) on which Datto EDR will generate and send the report.
-
In the Contents section, all sections are selected by default. If you don't want a section to appear in the report, clear its check box.
NOTE If AV or DNS are not enabled on the agent but are selected in the Contents section, those pages will still appear in the report but not include any data.
-
Click Save. The new scheduled report appears in the Scheduled Reports table.
Note: You can click various column headers to sort the table.
IMPORTANT Report retention is governed by the Datto EDR and Datto AV data retention policies. Once a report has aged out, it will no longer be available to download or review.
| Revision | Date |
|---|---|
| Global updates. | 1/16/26 |


